
Insights.
Check out the latest new stories, blogs and insights from around ANS and the amazing projects we’re working on with our customers.

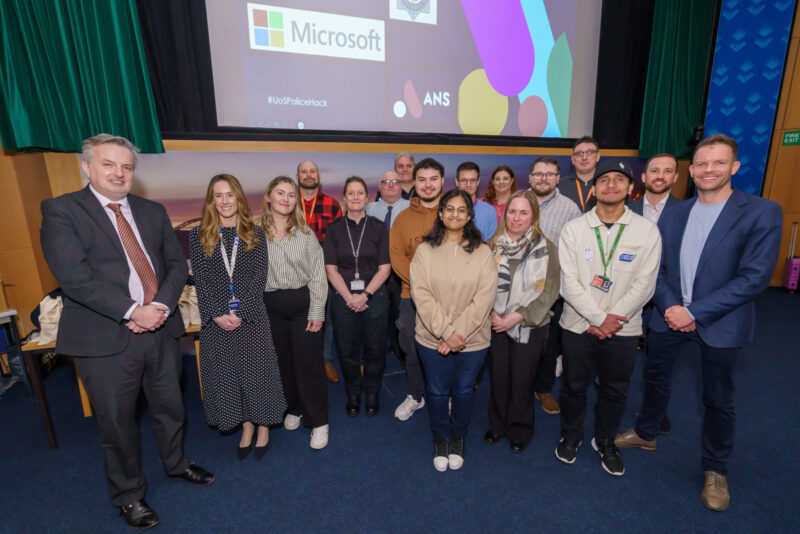
ANS guides Sunderland University’s Power Apps hackathon to assist Durham Police
The University of Sunderland organised its inaugural Power Apps Hackathon on March 28th in partnership…

Keeping an eye on AI – top trends businesses should look out for in 2024
By Robert Cottrill, Technology Director at ANS, discusses how businesses can optimise the latest AI…

ANS appoints new Director of Account Management to drive customer growth
Leading digital transformation company ANS has appointed Josie Rickerd as its Director of Enterprise Account…
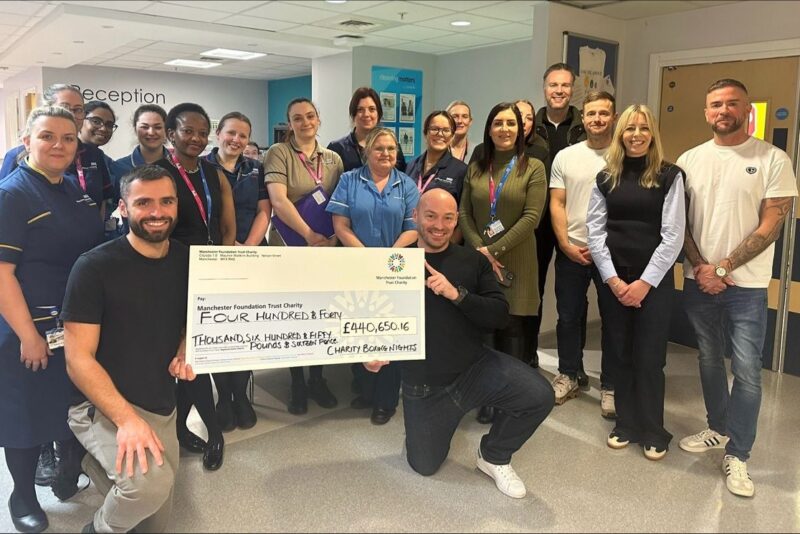
ANS helps Charity Boxing Nights raise over £440K for Manchester Hospitals
Charity Boxing Night (CBN) celebrates another successful year of fundraising, with the generous support of…

Get to know… Trinity Create
At ANS, our partners are at the heart of everything we do. As we continue…
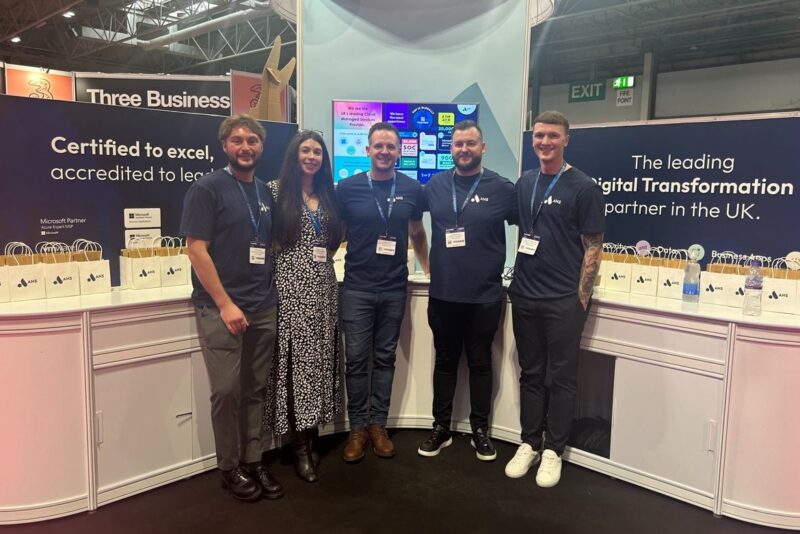
Our highlights at Channel Live 2024
The ANS team ventured down to Birmingham for Channel Live 2024. Channel Live is the…
Talk to us.
To find out more about ANS or talk to one of our experts, please don’t hesitate to get in touch.